Upload via CSV
Aplas provides a wizard to import CSV data into a software index from various sources. This is one of the multiple methods for populating an index.
Step 1 - Create Custom CSV Template
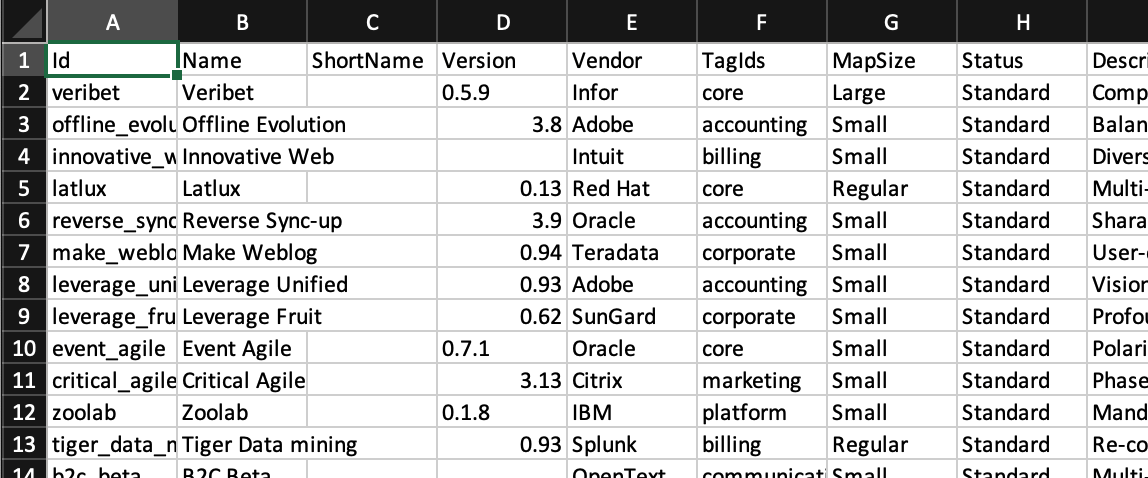
One of the best approaches is to export an existing index first. This provides you with a CSV template that already contains the custom fields headers from your index.
- Within Aplas Studio, navigate to the index area.
- Create a software index with the basic template (this will include a few sample records).
- (Optional) Add custom fields required for your source data.
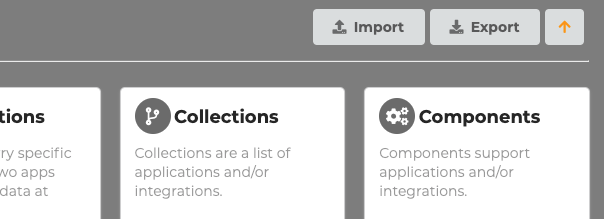
- Click the Export button to create your custom template.

Step 2 - Populate
Obtain your custom template file and unzip its contents. Inside you will find a file for each asset and tag type (e.g. Application.csv). If you open a particular file, you will notice column headers for both built-in and custom fields. Populating a file is a matter of copy-pasting your source data while ensuring that the header rows stay intact. When referring to other records (e.g. TagIds), you must provide the exact id field (including casing).

Certain built-in fields require specific values:
- Id: [alpha-numeric, no spaces, _, -]
- Application.csv/MapSize: None, Small, Regular, Large
- Application.csv/Status: Proposed, PhaseIn, Standard, PhaseOut, Retired
- FieldDefinition.csv/type: String, Number, Date, DateTime, Link, Email, Color, Currency, Boolean, Choice, Rating, Image
- FieldDefinition.csv/SubType (Rating type only): Color, Star
- FieldDefinition.csv/VisibilityType: Visible, VisibleFeatured, Hidden
- FieldDefinition.csv/Scope: Global, Application, ApplicationTag, Integration, IntegrationTag, Collection, CollectionTag, Component, ComponentTag
- Miscellaneous boolean fields: Yes, No
There is also a FieldDefinition.csv file that is used to store the setup of your custom fields. If you created a custom template (as above), there should be no need to change this file.
Step 3 - Import Data
- Open your existing software index.
- Click the Import button.
- Compress your CSV files (from the previous sample or export) into a zip file.
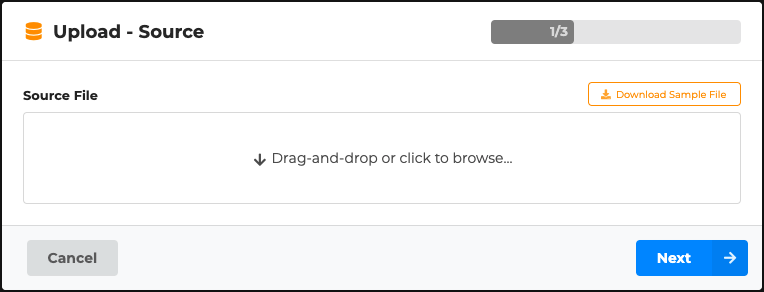
- Select your zip file and proceed through the rest of the wizard.

Gotchas
- Escaping commas: If you have a comma in a value, you can double-quote the entire field to ensure it won't be used as a separator (e.g. "my, field, value" > my, field, value).
- Escaping double-quotes: If you have a double-quote in a value, you can escape them with another double-quote (e.g. ""my field value"" > "my field value"). Sometimes you might find it easier to quote all string field values regardless.
- File names: Within your zip file the files must be named exactly as in the export or sample.
- Id fields: Getting the format of the id field can be difficult when you are importing free-form strings from another system. Our import template contains a macro that can help with the translation (see below).
- Something else: If you get into trouble, please feel free to reach out at any time.
Advanced import template
We also provide a more advanced import template that can be useful when you regularly update data via CSV. It has macros for generating Aplas compatible ids and separate worksheets for source data. Download the Aplas Import Template v1
Updated 5 months ago